

Honestly, over the years I’ve been into rope play, I’ve seen way too many people get burned by “common sense” mistakes. There’s always someone thinking, “It’s just a quick suspension—what could go wrong?” But I once watched a friend tear the ligaments in his wrist because of a poorly tied suspension knot—and there was an experienced person supervising. Safety isn’t just lip service; you’ve gotta sweat the details.
Let me be straight: Suspension is the “prettiest” part of rope play, but it’s also the most dangerous. That “gentle lift” you imagine? Your entire body weight is hanging on a few strands of rope. One small slip, and you’re either gasping for air, dislocating a joint, or worse—injuring your spine. When I first started, an old hand taught me suspension, and his first words hit hard: “Learn how to land safely before you learn how to hang.” I thought he was being over the top back then, but now? Those words saved me.
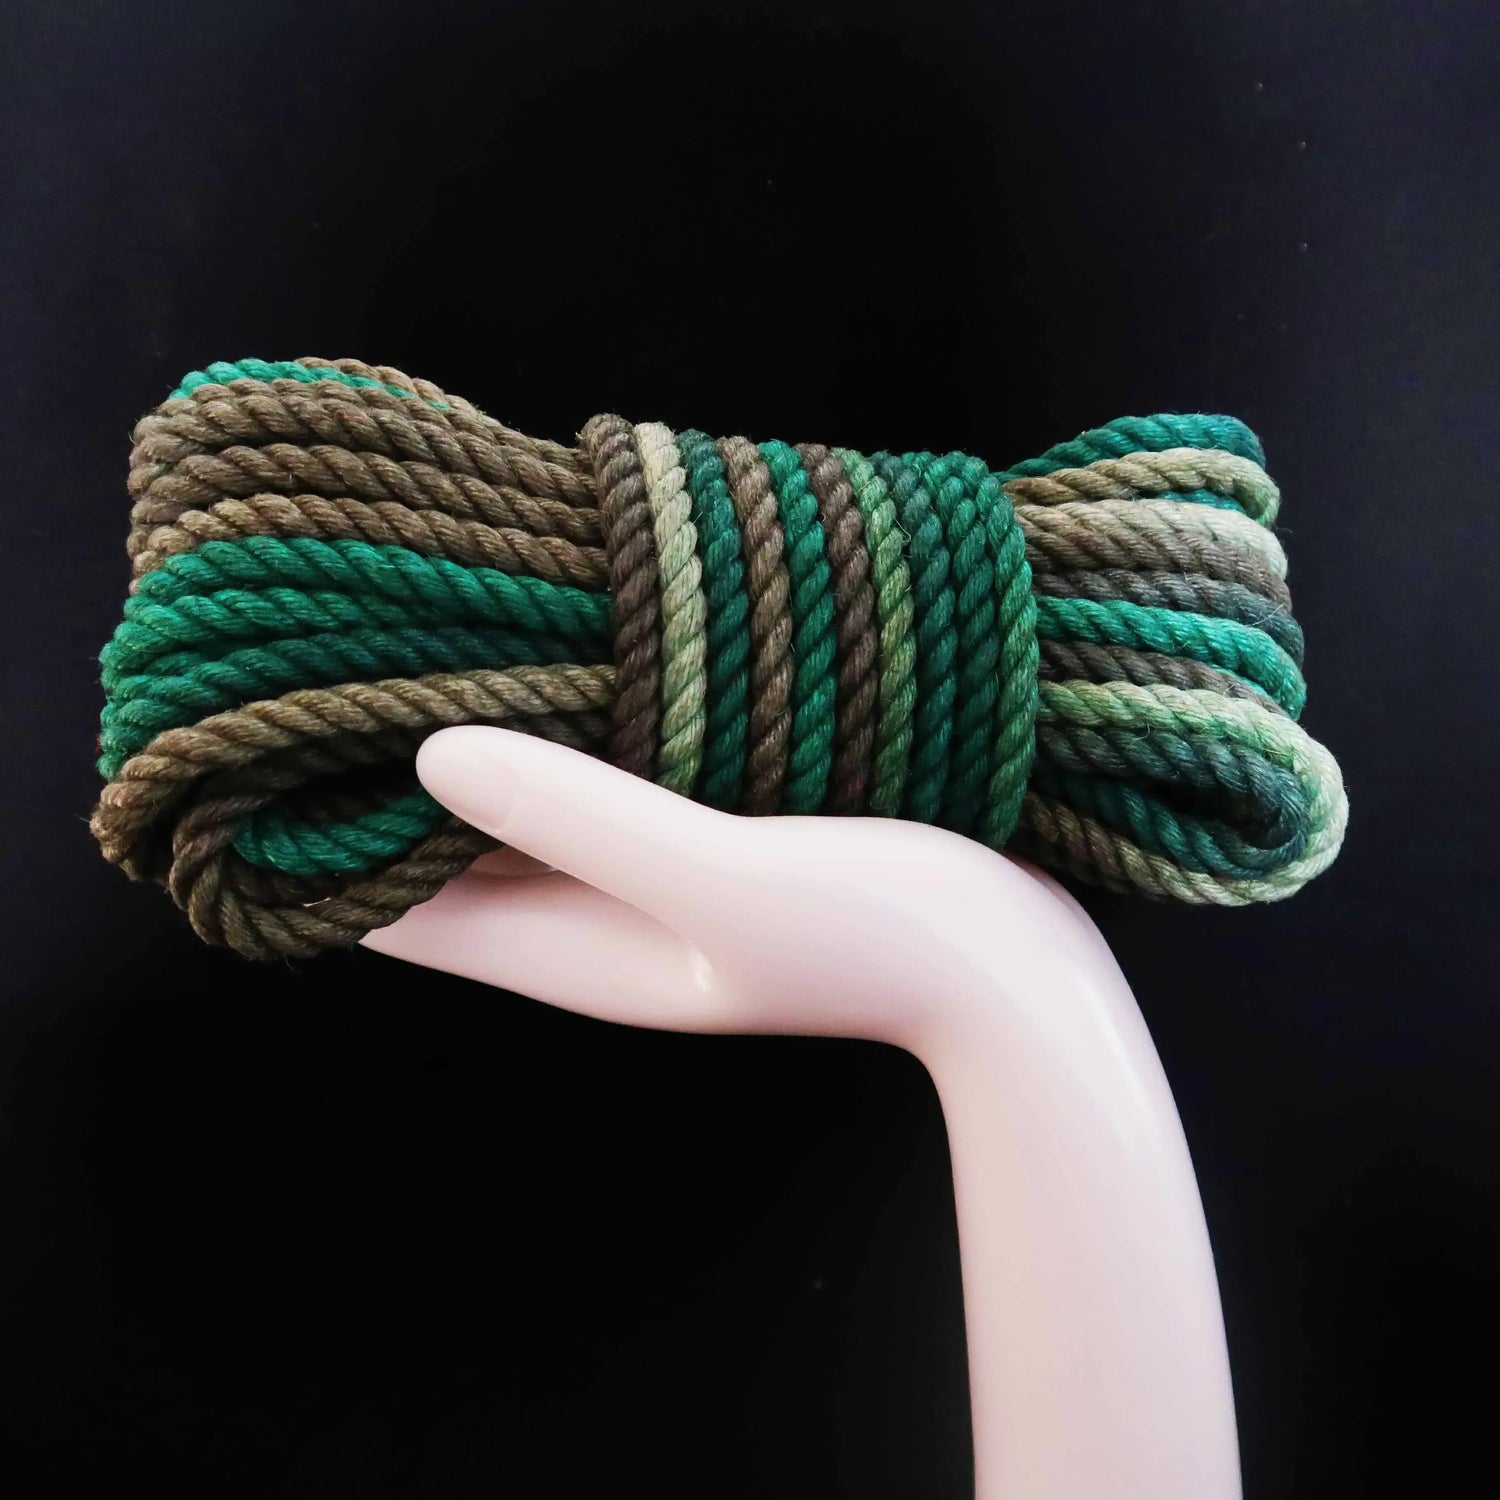
Let’s start with the basics people skip: Ropes and anchors aren’t things to wing it with
Some folks grab climbing rope for suspension to save time—looks tough, but climbing rope’s stretchy. When you hang, it swings, rubs hard, and can snap under sudden pressure. Good suspension rope needs low-stretch natural fibers (like treated hemp), and every time you use it, you have to run your hand along the length, checking for fuzz or frays. I’ve got a habit: Before tying, I yank the rope tight, hold it for three seconds, and listen for a “squeaky” sound—that’s the fibers crying for help.
Anchors are no joke either. Don’t trust “the doorframe’s strong enough”—I’ve seen someone yank a doorframe out of the wall, crashing down with splinters. Better to use a proper suspension rig or a ceiling hook that a builder’s signed off on, one that can hold at least two or three adults (never cut it close—leave a buffer). Before every hang, I’ll hoist myself up and swing a little. I weigh 160 pounds, and if the anchor makes even a tiny creak? I swap it out. No exceptions.
With tying, “avoid bones and blood vessels” isn’t a slogan—it’s reading a body map
Newbies’ biggest mistake?勒ing rope into joint creases—like behind the knees or under the armpits. Those spots are packed with nerves and blood vessels. Ten minutes of pressure, and you’ll go numb; longer, and the skin might turn purple. When I was starting, my teacher stuck an anatomy chart on the wall and made me feel my “no-go zones” blindfolded: the sides of the neck (carotid artery), the inside of the wrist (radial artery), the groin (femoral artery)—these areas shouldn’t even have rope pulled tight.
For suspension, pressure points need to hit meaty muscle—thighs (front), glutes, upper back. My go-to “three-point suspension” uses two points on the thighs (outer side, away from the knees) and one below the chest (between the ribs, not on the sternum). Spreading the weight keeps rope from digging into flesh. After tying, I always ask my partner to wiggle their limbs and check for tingling. Even a “little bit” means loosening and redoing it.
Time in suspension: Don’t prove a point
I’ve seen people “test their endurance” by hanging for 30 minutes—total nonsense. Your circulatory and nervous systems have limits. When limbs dangle, your heart strains to pump blood upward; too long, and you’ll get dizzy or even pass out. My rule: Newbies hang for 1 minute max their first time. Once you’re comfortable? Still no more than 5 minutes per session, with rest breaks at least twice as long as the hang (3 minutes up means 6 minutes down).
And when coming down? Never just “drop” and stand up. Have your partner loosen the rope until your toes touch the ground, then ease into standing, letting the weight come off slowly. Sudden standing sends blood rushing to your legs, and I’ve seen plenty of people black out and fall—more than once.
Always have a Plan B—more important than you think
When I teach new people suspension, I drill three questions: “What’s the safe word?” “Where’s the safety shears?” “If I pass out, do you know how to get me down fast?” Safety shears need to be serrated, within arm’s reach—regular scissors won’t cut taut rope in an emergency.
We also use a “silent signal”—if a partner can’t speak, we agree on three hand taps or two foot tugs on the rope. One time, my partner started coughing hard, couldn’t talk, and tugged their foot three times. I didn’t hesitate—I cut the rope (screw the rope; a life’s worth more).
Bottom line: The beauty of suspension is that “controlled freedom”—not reckless risk. I’ve been at this eight years, and my palms still sweat before a hang. That’s not fear—that’s respect. Know your limits, stick to ’em, and you’ll keep coming back.
Oh, and speaking of safety shears—I keep a multi-functional emergency cutter in my gear bag year-round. It’s got serrated blades that slice through even the tightest rope in a snap, plus a window breaker and seatbelt cutter on the end. Takes up next to no space, but when things go sideways? It’s the difference between a scare and a disaster. Play hard, but pack smart—makes sense, right?
👇,Recommending an essential multi-function scissors - click below to purchase
Multi-Function Emergency Scissors
A veteran who’s seen the scars. Hope you never need these lessons.